TYPES OF RECORDING
TYPES OF RECORDING
As a recording engineer, you’re a key player. Your skills help artists realize their visions in sound. Your miking techniques capture the vibrancy of the performance, whether it’s the shimmering overtones of a string quartet or the sonic assault of an electric blues band. Your “ post” work in the studio—adding effects, tweaking levels, etc.— will take the raw material of the performance and shape and blend it into a polished musical statement. By mastering the technology and becoming fluent with the audio tools at hand, you will produce exciting recordings that will delight your clients and give you a real sense of pride and achievement.
Be sure to practice what you learn in this book. There’s no substitute for hands-on experience. You might offer to record a band’s rehearsal for free while you experiment and master the gear. Be patient, let yourself make mistakes, and above all, listen to how the sound changes when you move a mic or tweak a knob.
TYPES OF RECORDING
Let’s get started. Currently, there are six main ways to record music:
- Live stereo recording
- Live mix recording
- Multitrack recorder and mixer
- Stand-alone Digital Audio Workstation (DAW; recorder–mixer)
- Computer DAW
- MIDI sequencing
Live Stereo Recording
Record with a stereo microphone or two microphones into a recorder. This method is most common when used to record an orchestra, symphonic band, pipe organ, small ensemble, quartet, or soloist. The microphones pick up the overall sound of the instruments and the concert-hall acoustics from several feet away. You might use this minimalist technique to record a folk group, rock group, or acoustic jazz group in a good-sounding room.

- The musical instruments or voices make sound waves.
- The sound waves travel through the air and bounce or reflect off the walls, ceiling, and floor of the concert hall. These reflections add a pleasing sense of spaciousness.
- The sound waves from the instruments and the room reach the microphones, which convert the sound into electrical signals.
- The sound quality is greatly affected by the mic technique: microphone choice and placement.
- The signals from the microphones go to a 2-track recorder. It may be a hard-drive recorder, CD-R burner, DVD-R burner, Flash memory recorder, or computer hard drive. The signal changes to a pattern stored on a medium, such as magnetic patterns on a hard disk. During playback, the patterns on the medium are converted back into a signal. During recording, signals are stored along with a track—a path or channel on the medium containing a recorded signal. A single medium can record one or more tracks. For example, 2-track hard-disk recording stores two tracks on the hard disk, such as the two different audio signals required for stereo recording.
- To hear the signal you’re recording, you need a monitor system: headphones or a stereo power amplifier and loudspeakers. You use the monitors to judge how well your mic technique is working. The speakers or headphones convert the signal back into sound. This sound resembles that of the original instruments. Also, the acoustics of the listening room affect the sound reaching the listener.
Live Mix Recording
This method is seldom used except for live broadcasts or recordings of PA mixes. Using a mixer, you set up a mix of several microphones and record the mixer’s output signal on a 2-track recorder (CD-R, Flash memory recorder, or computer hard drive). Each mic is close to its sound source. Figure 2.2 shows this method.

Multitrack Recorder and Mixer
Record with several mics into a mixer, which is connected to a multitrack hard-disk recorder. You record the signal of each microphone on its own track, then mix these recorded signals after the performance
is done. You can also record different groups of instruments on each track. Figure 2.3 shows the stages in this method.

- Place microphones near the instruments.
- Plug the mics into a mixing console: a big, sophisticated mixer. During the multitrack recording, the mixing console amplifies the weak microphone signals up to the level needed by the recorder. The console also sends each microphone signal to the desired track.
- Record the amplified mic signals on the multitrack recorder. You can record more instruments later on unused tracks—a process called overdubbing. Wearing headphones, the performer listens to the recorded tracks and plays or sings along with them. You record the performance on an unused track.

After the recording is done, you play all the tracks through the mixing console to mix them with a pleasing balance ( Figure 2.4 ).
Here are the steps:
- Playback the multitrack recording of the song several times, adjusting the track volumes and tone controls until the mix is just the way you want it. You can add effects to enhance the sound quality. Some examples are echo, reverberation, and compression (explained in Chapter 10). Effects are made by signal processors that connect to your mixer, or by software applications (plug-ins) that are part of a recording program.
- Record or export your final stereo mix onto your computer hard drive or to an external 2-track recorder such as the Alesis Masterlink.
Stand-alone DAW (Recorder–Mixer )
This is a multitrack recorder and a mixer combined in one portable chassis. It’s relatively easy to use. The recording medium is a hard drive or a Flash memory card. Other names for a recorder–mixer are “stand-alone Digital Audio Workstation, ” “digital multitracker, ” “personal digital studio, ” or “portable studio. ” Most recorder–mixers have built-in effects. Figure 2.5 shows an example of a recorder–mixer.

Computer DAW
This low-cost system includes a computer, recording software, and a sound card or audio interface that gets audio into and out of your computer ( Figure 2.6 ).

You record on the computer’s hard drive Using the recording software, you perform these operations:
- Record music on the computer’s hard drive.
- Edit the tracks to fix mistakes, delete unwanted material, or to copy/move song sections.
- Mix the tracks with a mouse or controller by adjusting virtual controls that appear on your computer screen. You might also assemble a song from samples or from loops. Samples are recordings of single notes of various instruments. Loops are repeating musical patterns.
MIDI Sequencing
With this recording method, a musician performs on a MIDI controller, such as a piano-style keyboard or drum pads. The controller puts out a MIDI signal, a series of numbers that indicates which keys were
pressed and when they were pressed. The MIDI signal is recorded into computer memory by a sequencer or sequencer program in a computer. When you play back the MIDI sequence, it plays the tone generators in a synthesizer or sound module. The synthesizer can be hardware or software (as a “soft synth, ” also called a “virtual instrument”). A MIDI sequence also can play samples: digital recordings

of musical notes played by real instruments. Like a player piano, MIDI sequencing records your performance gestures rather than audio. Figure 2.7 shows the process. MIDI/digital-audio software lets you record MIDI sequences and digital audio on hard disk. First record a few tracks of MIDI sequences, then add audio tracks: lead vocal, sax solo, or whatever. All these elements stay synchronized.
For detail study regarding this refer Book:
The Step-by-Step Approach to Professional Audio Recording
Bruce Bartlett, Jenny Bartlett
Also, Check for book Index and the preview of this awesome book at following links.
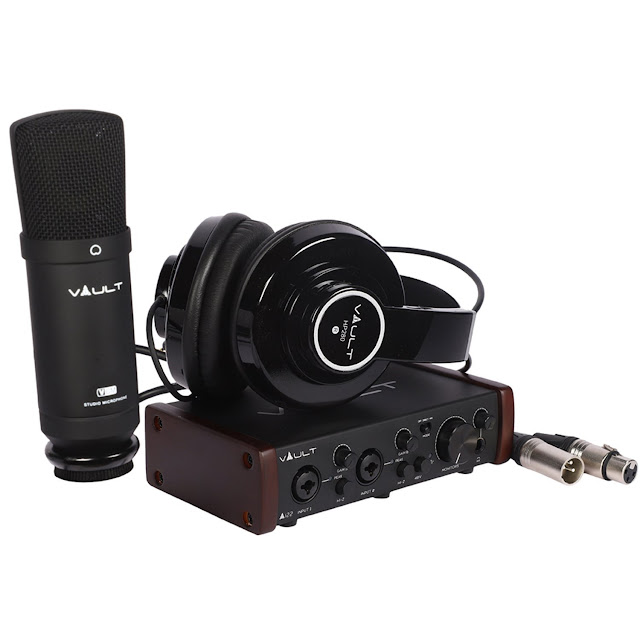
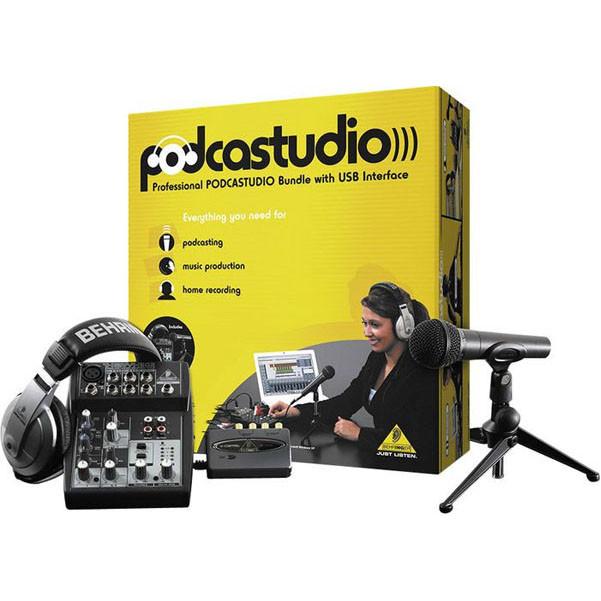
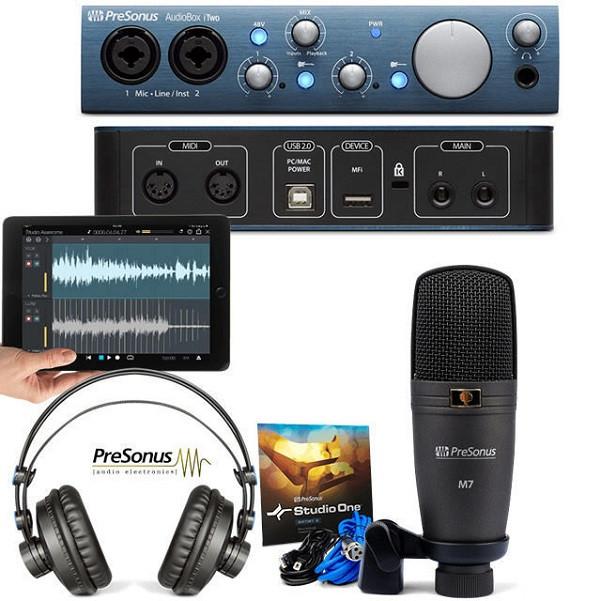
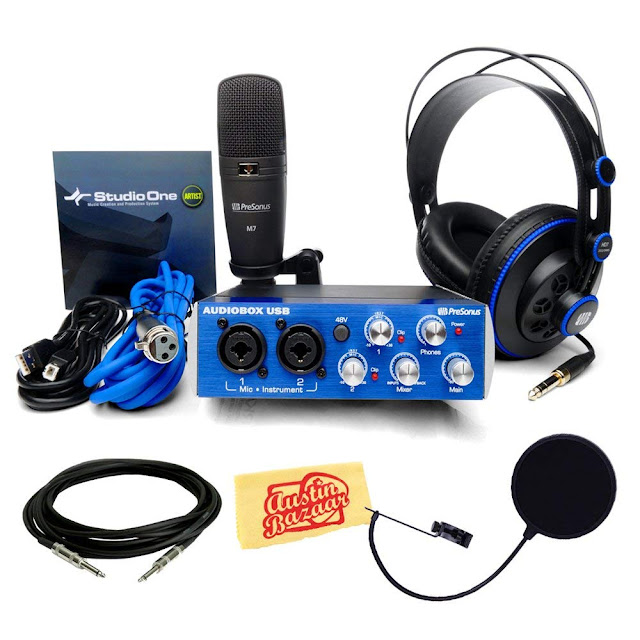
If you are interested to start your professional recording career check for following some of the best available products with comparatively low cost.


